

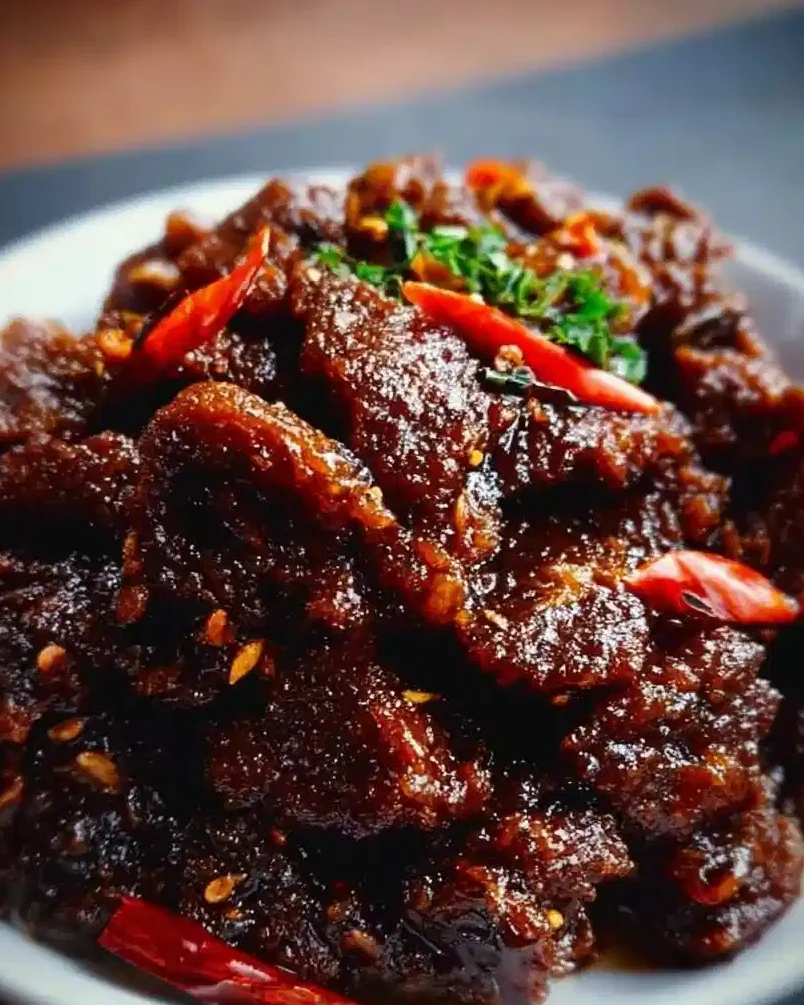
Crispy Chilli Beef is a dish that never fails to impress. I remember the first time I tried it at a local takeout; the moment the crispy texture met my mouth, I was hooked. The combination of succulent beef combined with aromatic spices and a spicy kick has become a staple in our household. With its perfect blend of flavors and textures, it’s hard not to love this delightful Asian-inspired dish. Whether you’re looking to impress guests or simply want a comforting meal, this Crispy Chilli Beef recipe is your answer. Let’s dive into why this recipe has become a family favorite and how you can recreate it in your own kitchen!
Table of Contents
Why You’ll Love This Recipe
- Quick and simple to prepare: This recipe can be ready in under 30 minutes, making it perfect for busy weeknights.
- Family-friendly meal: The crispy texture and sweet-spicy sauce appeal to both kids and adults alike.
- Great for beginners: With straightforward steps, even novice cooks can whip up this delicious dish with ease.
Crispy Chilli Beef offers a wonderful balance of flavors—the crunch from the beef, the freshness of the vegetables, along with the tangy and spicy sauce will take your taste buds on a delightful journey. Not to mention, it’s a perfect dish for meal prep or entertaining guests. Imagine serving this alongside fluffy steamed rice or noodles, and you’ve got a winner!
Ingredients
- 1 lb beef sirloin or flank steak, thinly sliced
- 1/4 cup cornstarch
- 1/4 cup all-purpose flour
- 1 egg
- 1/4 cup water
- 1/2 teaspoon baking powder
- Salt and pepper to taste
- Vegetable oil for frying
- 2 tablespoons soy sauce
- 1 tablespoon rice vinegar
- 2 tablespoons hoisin sauce
- 1 tablespoon chili sauce (adjust to taste)
- 2 teaspoons sugar
- 1 tablespoon minced garlic
- 1 tablespoon minced ginger
- 1/2 onion, sliced
- 1 bell pepper, sliced
- 1-2 red chilies, sliced (optional for extra heat)
- 1 tablespoon sesame oil
- 1 tablespoon chopped green onions (for garnish)
Step-by-Step Instructions
- Prepare the beef: Slice beef thinly against the grain into strips, ensuring maximum tenderness.
- Make the batter: In a bowl, combine the cornstarch, flour, baking powder, salt, and pepper. Add the egg and water, whisk until smooth to create a batter.
- Fry the beef: Heat vegetable oil over medium-high heat in a frying pan. Dip beef strips into the batter, coating them fully, and fry in batches for about 3-4 minutes until they turn golden and crispy. Drain the fried beef on paper towels.
- Prepare the sauce: In a wok or large pan, heat sesame oil over medium heat. Add garlic, ginger, onion, and bell pepper. Sauté for 2 minutes until fragrant.
- Combine: Stir in soy sauce, rice vinegar, hoisin sauce, chili sauce, and sugar. Let it simmer for 2 minutes to meld the flavors.
- Add beef: Toss the crispy beef into the sauce and stir-fry for another 2-3 minutes until well-coated.
- Garnish: Finally, garnish with sliced chilies and chopped green onions. Serve immediately with steamed rice or noodles for the full experience.
Pro Tips and Variations
- Make it spicy: Adjust the amount of chili sauce or add chopped fresh chilies to the dish for extra heat.
- Vegetarian option: Swap out beef for tofu or tempeh and follow the same cooking instructions for a delicious plant-based version.
- Meal prep: This dish stores well in the refrigerator, making it a great option for meal prep. You can reheat it for a quick lunch or dinner.
- Add veggies: Feel free to incorporate additional vegetables such as broccoli or snap peas to enhance nutritional value and add color.
How to Serve Crispy Chilli Beef
Serve your Crispy Chilli Beef over a bed of fluffy white rice or noodles to soak up the flavorful sauce. You could also pair it with a fresh cucumber salad or steamed green vegetables for a well-rounded meal. For a touch of authenticity, serve it alongside spring rolls or dumplings to create a complete Asian-inspired feast. The crunchiness of the beef combined with the tender sides will make for an irresistible dining experience.
How to Store Crispy Chilli Beef
To store leftovers, place them in an airtight container in the refrigerator. They will last up to 3 days. To reheat, simply warm up in a frying pan over medium heat to maintain the crispy texture. If using a microwave, you can add a splash of water to keep the beef from drying out but note that reheating may result in a loss of crispiness.
Nutrition Information
Crispy Chilli Beef is a delicious option that provides protein from beef and various vitamins from vegetables. While the dish does feature some frying, you can mitigate the calorie count by opting for healthier oils and sides. The ingredients are versatile, allowing you to adjust them according to your dietary preferences.
FAQs
1. Can I use a different type of beef?
Absolutely! You can use any cut of beef, but sirloin or flank steak provides a great balance of tenderness and flavor.
2. How can I make this dish gluten-free?
You can replace the soy sauce with tamari or coconut aminos, and use gluten-free cornstarch to make the dish gluten-free while keeping it delicious.
3. Is there a vegetarian substitute for the beef?
Yes, you can use tofu, tempeh, or seitan as substitutes. These options will absorb the flavors while providing a delightful texture.
4. Can I make the sauce ahead of time?
Certainly! The sauce can be made and stored in an airtight container in the fridge for up to a week. Just add the crispy beef when it’s time to serve.
Conclusion
Crispy Chilli Beef is not just simple to make; it’s packed with flavor and texture that is sure to please anyone at your dining table. Whether you’re preparing a weeknight dinner or hosting a gathering, this recipe meets every occasion with enthusiasm. Try this Crispy Chilli Beef recipe and share your experience. Your culinary adventure awaits!

Crispy Chilli Beef
Ingredients
Method
- Slice beef thinly against the grain into strips, ensuring maximum tenderness.
- In a bowl, combine cornstarch, flour, baking powder, salt, and pepper. Add egg and water, whisk until smooth to create a batter.
- Heat vegetable oil over medium-high heat in a frying pan.
- Dip beef strips into the batter, coating them fully, and fry in batches for about 3-4 minutes until they turn golden and crispy.
- Drain the fried beef on paper towels.
- In a wok or large pan, heat sesame oil over medium heat. Add garlic, ginger, onion, and bell pepper. Sauté for 2 minutes until fragrant.
- Stir in soy sauce, rice vinegar, hoisin sauce, chili sauce, and sugar. Let it simmer for 2 minutes to meld the flavors.
- Toss the crispy beef into the sauce and stir-fry for another 2-3 minutes until well-coated.
- Garnish with sliced chilies and chopped green onions. Serve immediately with steamed rice or noodles.