
If you’re the kind of person who keeps cocoa powder in the cupboard “just in case,” this is your moment.
You don’t need a machine. You don’t need eggs. You don’t even need a lot of time. What you do need is three simple ingredients and a reason and honestly, “because it’s Tuesday” is good enough.
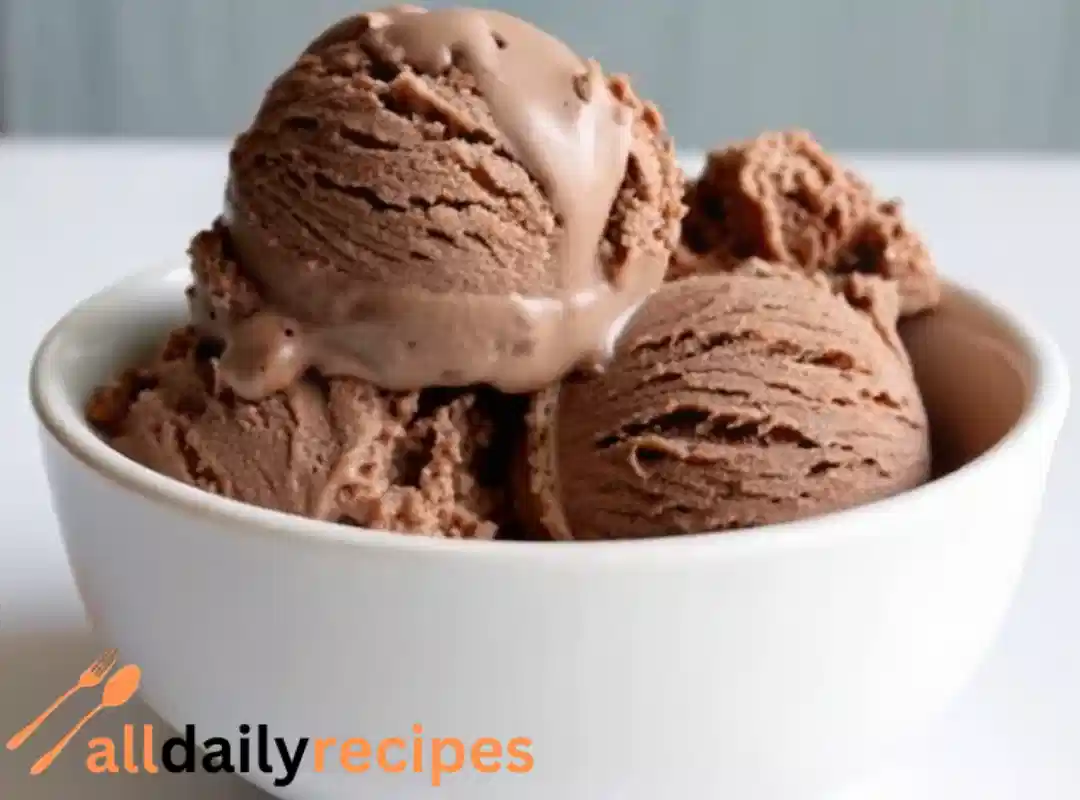
This no-churn, 3-ingredient chocolate ice cream skips every traditional rule and still delivers that deep, creamy, scoopable goodness that hits exactly right after dinner (or, let’s be honest, mid-afternoon straight from the freezer). It’s not a substitute. It’s the real deal just made easier.
Whether you’re whipping this up for your kids, date night, or because your chocolate craving isn’t playing around today, this recipe’s your answer. And if you’ve never made homemade ice cream before? You’re about to wonder why you waited.
Table of Contents
Why Make 3-Ingredient Chocolate Ice Cream at Home?
Because it’s the fastest way to feel like a dessert genius with zero stress, zero stove time, and absolutely no custard drama.
We’ve all been there craving something cold and chocolatey but not willing to mess with eggs, double boilers, or an ice cream machine you swore you’d use but haven’t touched since last summer. That’s where this version comes in.
It’s rich. It’s smooth. It tastes like you spent hours, but took maybe 10 minutes of real effort. And unlike store-bought, you actually know what’s in it no stabilizers, no odd aftertaste, no freezer-burned disappointment.
Plus, this recipe is:
- Machine-free: Just a bowl, a spatula, and a bit of mixing.
- Beginner-safe: First-time making ice cream? You’re already set.
- Kid-friendly: No raw eggs, no heat, no problem.
- Totally tweakable: Want extra chocolate chunks? Swirl in peanut butter? You’re in charge.
Once you taste it, you’ll realize this isn’t a shortcut. It’s a cheat code.
Ingredients You’ll Need
This recipe uses just three core ingredients simple, accessible, and straight-up delicious. Here’s what to gather before you start.
Essential Ingredients
- 2 cups cold heavy whipping cream
You’ll whip this into stiff peaks it’s what gives your chocolate ice cream its dreamy, velvety texture. - 1 can (14 oz / 400 g) sweetened condensed milk
Acts as both sugar and thickener. It sweetens, softens, and keeps the ice cream scoopable without freezing rock hard. - ½ cup unsweetened cocoa powder
Use real baking cocoa Dutch-processed if available for the deepest, richest chocolate flavor.
Optional Add-Ins & Flavor Twists (about 1 cup total)
Enhance or play around once your base is ready:
- Chocolate chunks, mini chips, or dark chocolate shavings
- A swirl of peanut butter, chocolate sauce, or crushed toffee
- A sprinkle of espresso powder (for mocha vibes)
- Pinch of sea salt or cinnamon for flavor depth
- Crushed cookies or brownie bits for fun texture
Step-by-Step Instructions (No Churn Required)
This isn’t the kind of recipe that takes all day. You’ll be mixing, folding, and freezing in under 20 minutes and most of that is just waiting on your mixer.
1. Whip the Cream
Start with a cold bowl and cold heavy cream it makes a big difference. Pour the cream into a large mixing bowl and beat it with a hand or stand mixer until it forms stiff peaks. You’ll know you’re there when you lift the beaters and the peaks hold without flopping over.
Heads-up: Doing this by hand with a whisk is possible… but unless you’re after a forearm workout, stick to a mixer.
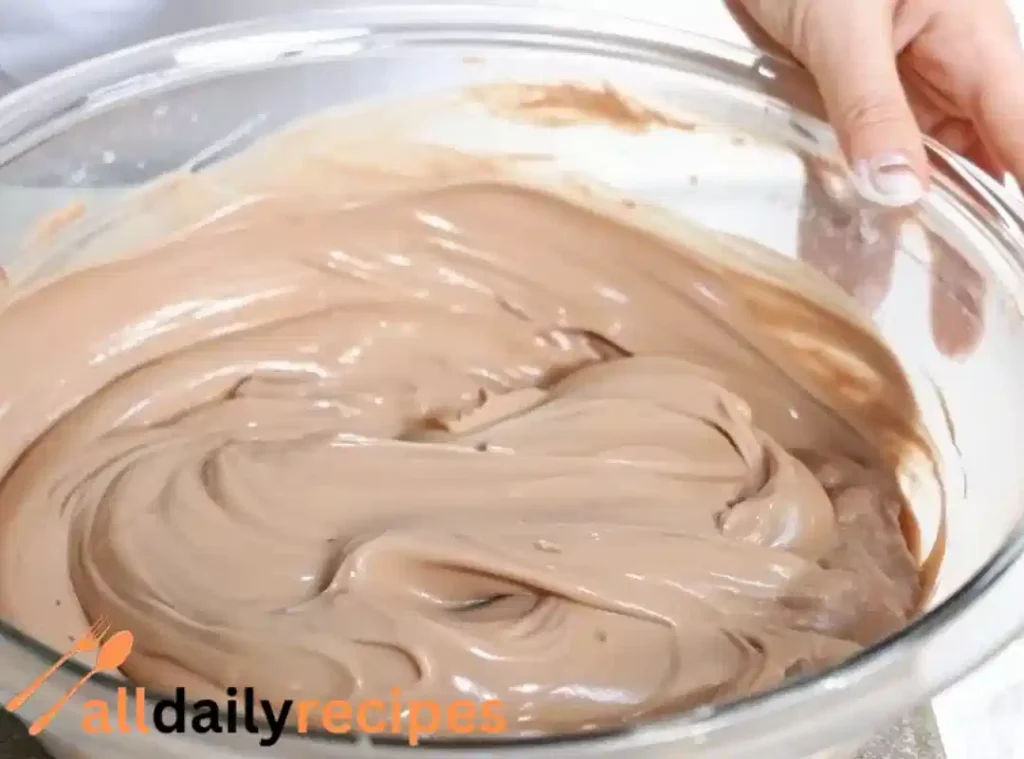
2. Make the Chocolate Base
In a separate bowl, mix the sweetened condensed milk and unsweetened cocoa powder. It might clump at first just keep stirring. It’ll turn into a smooth, thick, chocolatey mixture that looks like glossy fudge.
Tip: Add the cocoa a little at a time to avoid the infamous cocoa dust cloud.
3. Fold It All Together
Gently spoon the chocolate mixture into the whipped cream. Using a spatula, fold don’t stir the two together. You’re aiming to keep as much of that fluffy whipped texture as possible. No streaks of white, but don’t overwork it either.
Want to add mix-ins? Do it now, just before freezing.
4. Freeze
Scoop the finished base into a loaf pan or container. Press plastic wrap directly onto the surface (this helps prevent ice crystals), then cover with a lid or foil.
Freeze for at least 4–6 hours, or overnight for a firmer texture. If you prefer a soft-serve consistency, check it around the 4-hour mark.
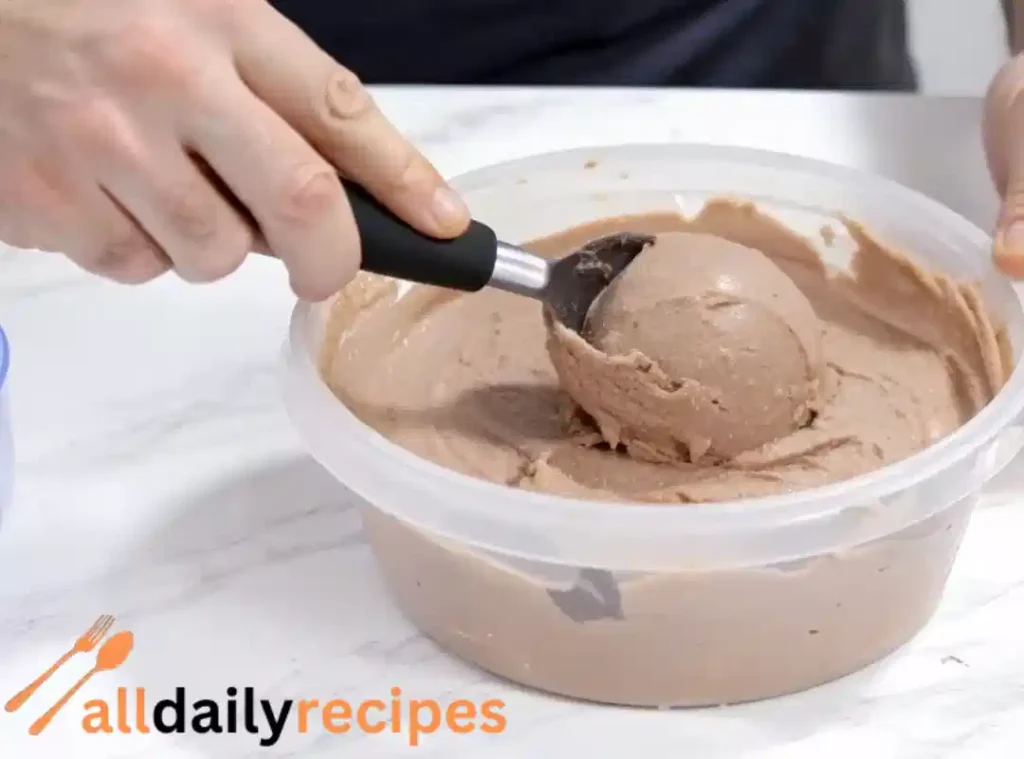
5. Serve
Let it sit at room temp for about 10 minutes before scooping it’ll make things easier. A warm scoop helps too.
Tips for Deep Chocolate Flavor & Creamy Texture
No-churn ice cream is surprisingly forgiving, but a few small details can make the difference between “pretty good” and “oh wow.”
Go Big on the Cocoa
- Use Dutch-process cocoa if you want bold, almost fudge-like intensity. Natural cocoa works too, but Dutch gives that deep, moody chocolate hit.
- Sift your cocoa powder before mixing it’ll blend smoother and avoid bitter clumps.
Boost the Flavor Layering
- A pinch of salt makes chocolate taste richer like turning up the volume.
- Espresso powder (¼ teaspoon) enhances depth without making it taste like coffee.
- Vanilla extract (½ teaspoon) is technically optional… but adds warmth and rounds out the chocolate.
Preserve That Creamy Texture
- Whip the cream to just stiff peaks stop before it gets grainy.
- Fold gently. Think “lazy swirl,” not aggressive mixing. You want to trap air, not kill it.
- Cover the surface with plastic wrap pressed directly on top to block freezer burn and those annoying ice shards.
Why does my no-churn chocolate ice cream turn icy?
It usually means one of two things: the whipped cream got overmixed and collapsed, or air snuck in during freezing. Covering tightly and folding carefully makes a big difference.
Chocolate Mix-Ins & Flavor Variations
Here’s the fun part once your ice cream base is ready, you can get as creative as you want. This recipe is just the starting point. What you do with it from here? That’s where it becomes yours.
Want More Chocolate?
- Toss in a handful of mini chocolate chips for that melty bite-in-every-scoop feeling.
- Chop up a good dark chocolate bar and fold it through you’ll get deep flavor and little crunchy pockets of richness.
- Swirl in a spoonful or two of fudge sauce right before freezing for ribbons of soft, gooey chocolate.
Sweet Meets Salty
- Drop in spoonfuls of peanut butter and drag a butter knife through for a swirl effect. It’s ridiculously good.
- Crush up some salted pretzels or sprinkle in toffee bits both bring crunch and contrast.
- A small pinch of flaky sea salt takes the chocolate to another level. Just trust it.
Add a Kick of Coffee
- A little instant espresso powder stirred into the condensed milk adds a rich mocha note no overpowering coffee taste, just depth.
- Feeling fancy? A splash of coffee liqueur (just a tablespoon) can turn this into a grown-up dessert.
Kid-Approved Add-Ins
- Crumbled Oreos, leftover brownie chunks, or even pieces of chocolate cereal work great.
- Toss in some colorful sprinkles or crushed candy bars for birthday-party vibes.
Keep mix-ins to about 1 cup total per batch that’s the sweet spot where you get plenty of texture without throwing off the creamy consistency.
Storage & Serving Tips
This chocolate ice cream rarely lasts long and honestly, that’s kind of the point. But if you do manage to save some, here’s how to keep it tasting fresh and scoopable.
Best Way to Store It
- Use a freezer-safe container with a tight lid a loaf pan works in a pinch, but sealable tubs are better for longer storage.
- Press plastic wrap directly onto the surface of the ice cream before closing the lid. This helps stop ice crystals from forming.
- Tuck it in the back of the freezer, where the temperature stays more consistent. The door is not your friend.
How Long It Lasts
You’ll get the best texture in the first 10 to 14 days. After that, it can start to feel a little icy or dense still edible, but not peak creamy.
Scooping Tips
- Let the container sit at room temp for 5–10 minutes before scooping.
- Dip your scoop in warm water, then dry it off it’ll glide through like butter.
- Serve in bowls, cones, on brownies, between cookies or just eat it straight from the tub. No judgment here.
Frequently Asked Questions (FAQs)
Can I use Dutch-process cocoa powder?
Can I make it dairy-free?
How long do I need to freeze it?
Can I double the recipe?
Do I really need a mixer?
Conclusion
For something so simple, this ice cream delivers big. You only need three ingredients, one bowl, and no fancy equipment and somehow, what comes out of your freezer is smooth, creamy, deeply chocolatey, and seriously hard to stop eating.
It’s not just a shortcut. It’s a reminder that great desserts don’t have to be complicated. You can make something impressive without breaking a sweat or pulling out a single egg.
So whether you’re serving it at a dinner party, scooping it into cones for the kids, or sneaking a spoonful straight from the container enjoy the heck out of it. You made chocolate ice cream from scratch. That’s worth celebrating.
3-Ingredient No-Churn Chocolate Ice Cream
Ingredients
Method
- Start by whipping the cold heavy cream in a large mixing bowl until stiff peaks form.
- In a separate bowl, combine the sweetened condensed milk and unsweetened cocoa powder. Mix until smooth.
- Gently fold the chocolate mixture into the whipped cream until no streaks remain.
- If using mix-ins, add them now before freezing the mixture.
- Transfer the mixture into a loaf pan or airtight container. Press plastic wrap onto the surface to prevent ice crystals.
- Freeze for at least 4-6 hours, or overnight for a firmer texture.
- Let the ice cream sit at room temperature for about 10 minutes before scooping.
- Serve in bowls, cones, on brownies, or simply enjoy straight from the container.