
Celebrating my friend’s graduation a few years back, I found myself overwhelmed with joy as I watched her walk across the stage. Graduation marks a significant milestone in one’s life, and what better way to commemorate it than with a stunning cake? I started exploring various Grad Cake Ideas to make her day extra special. This brought me to the realization of how cakes can be the centerpiece of any celebration, especially ones that hold such personal sentiments. From classic designs to whimsical creations, the options are endless. Let’s dive into some standout ideas to make any graduation celebration deliciously memorable.
What is Grad Cake?
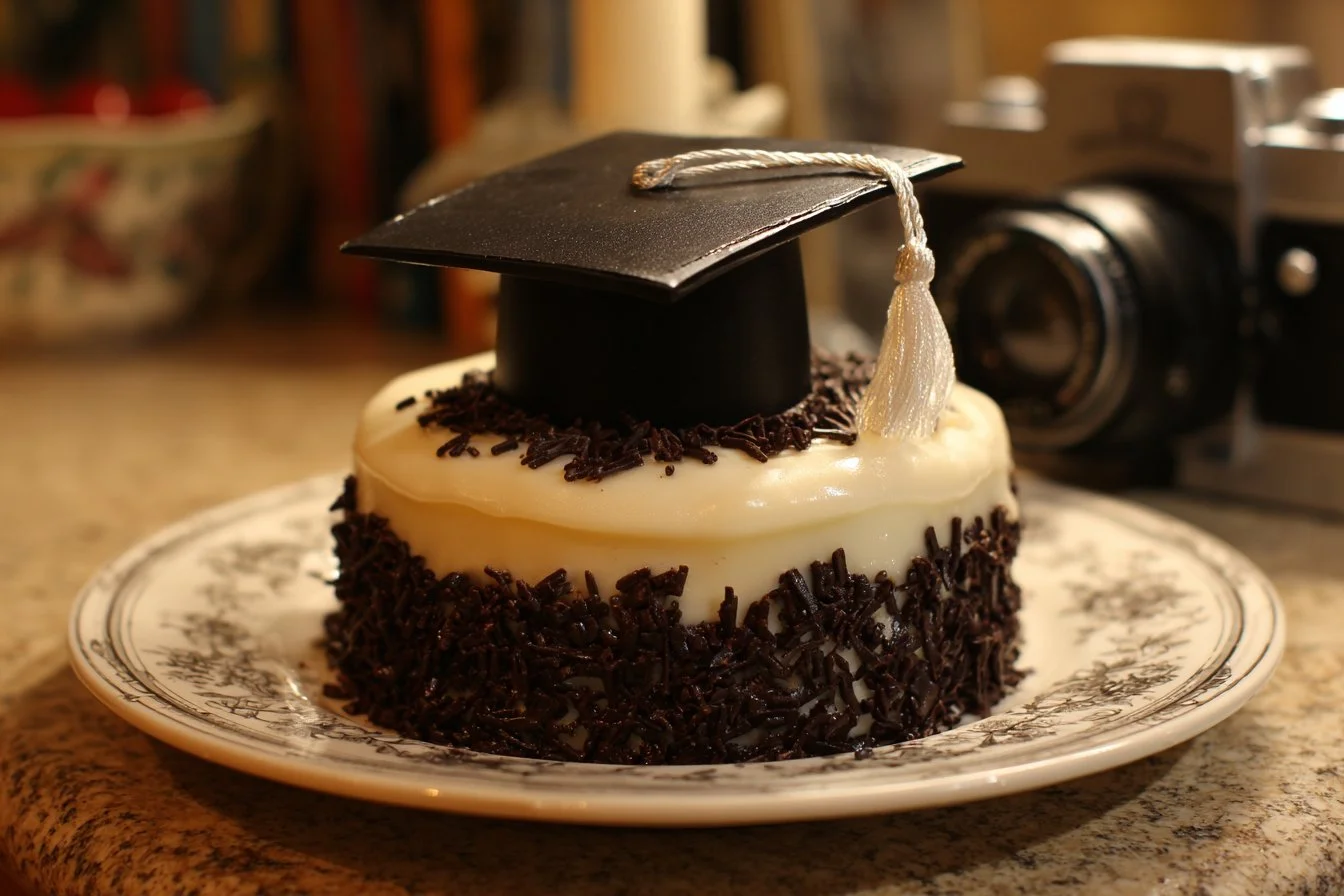
Academic celebrations like graduations often call for a cake that not only tastes delightful but also represents the achievement being celebrated. A Grad Cake is typically designed to reflect the graduating individual’s personality, school colors, or dreamed future path. These cakes can come in various flavors and styles, from tiered cakes adorned with caps and diplomas to simple pastries that can be customized for an individual touch. The cake acts as both a visual centerpiece and a delicious treat, making it an integral part of any graduation party.
Creating a Grad Cake allows for ample creativity. Whether you prefer to imitate a favorite book cover or showcase school mascots, the possibilities are vast. Each cake can have a personal touch, perfectly fitting the occasion. With thoughtful design and flavor choices, a Grad Cake can turn a celebratory moment into a cherished memory.
Why You’ll Love This Grad Cake:
Graduation celebrations benefit from a vibrant cake that enhances the festive atmosphere. Here’s why you’ll love putting together a Grad Cake:
- Quick and simple to prepare for any skill level.
- Family-friendly dessert that appeals to all ages.
- Endless customization options to reflect personal achievements.
- Ideal for gatherings of any size, from intimate family dinners to larger parties.
- A delicious way to share joy with friends and family.
Making a Grad Cake can become a bonding experience, whether you’re teaming up with friends, family, or even students for a fun baking activity. The joy found in decorating together can be just as sweet as the cake itself. Plus, the smile on the graduate’s face when they see their personalized cake is truly priceless.
Ingredients
To create a perfect Grad Cake, gather the following ingredients:
- 2 cups all-purpose flour
- 1 ½ cups sugar
- 1 cup unsalted butter, softened
- 4 large eggs
- 1 cup milk
- 2 ½ teaspoons baking powder
- 1 teaspoon vanilla extract
- 1/2 teaspoon salt
- Food coloring (optional)
- Frosting of choice (buttercream or cream cheese)
- Decorations (such as edible glitter, fondant shapes, or fresh fruits)
These ingredients work together to create a moist and delicious cake that can easily be customized with flavors and decorations to suit any graduate’s style.
Step-by-Step Instructions for Grad Cake
- Preheat your oven to 350°F (175°C). Grease and flour two 9-inch round cake pans to ensure easy removal once baked.
- In a large mixing bowl, cream together the softened butter and sugar until it becomes light and fluffy. This step helps to aerate the batter.
- Add the eggs one at a time, mixing well after each addition. Stir in the vanilla extract to enhance the flavor.
- In another bowl, whisk together the flour, baking powder, and salt. Gradually add the dry ingredients to the creamed mixture alternately with the milk, starting and ending with the flour mixture. This ensures a well-mixed batter.
- If using food coloring, divide the batter into separate bowls and mix in colors to achieve your desired palette, often reflecting the school colors.
- Pour the batter evenly into the prepared pans and smooth out the tops.
- Bake in the preheated oven for 25-30 minutes or until a toothpick inserted into the center comes out clean.
- Allow the cakes to cool in their pans for about 10 minutes, then transfer them onto a wire rack to cool completely before frosting.
- Once cooled, frost the cakes and decorate as desired, making it festive for graduation.
These straightforward steps will guide you in preparing a delightful cake that any graduate would be proud to have at their celebration.
Pro Tips and Variations:
Creating the perfect Grad Cake is easy with some expert tips:
- Texture Matters: For an even better cake texture, try substituting some of the all-purpose flour with cake flour.
- Flavor Fusions: Consider incorporating different flavors such as lemon, chocolate, or almond extract into the batter for a unique twist.
- Decorate Ahead of Time: If you’re using fondant decorations, create them in advance to save time on the day of the celebration.
- Serving Options: Serve the cake alongside fresh fruit or ice cream for added delight.
- Dietary Adjustments: For gluten-free needs, substitute the all-purpose flour with a gluten-free blend and adjust baking time accordingly.
Experimenting with these variations can not only cater to different tastes but can also make your cake more memorable and enjoyable for all.
How to Serve Grad Cake
When it’s time to serve your beautiful Grad Cake, consider these ideas to elevate your presentation:
- Family Style: Place the cake at the center of the dessert table, surrounded by small plates and forks for easy access.
- Pairings: Serve slices with fresh fruit, especially berries or whipped cream, for added freshness and flavor contrast.
- Theme Coordination: Match the serving style with the graduation theme, using decorations that reflect the graduate’s school colors or accomplishments.
- Toast with Style: Encourage guests to raise a toast in honor of the graduate just before cutting the cake, creating a memorable moment.
Serving your Grad Cake thoughtfully not only enhances its appeal but also adds to the overall festive atmosphere of the celebration.
How to Store Grad Cake
If you have any leftovers after the graduation celebration, proper storage is key to maintaining the cake’s freshness and flavor. Here’s how to store it:
- Refrigeration: Wrap the cake tightly in plastic wrap and store it in the refrigerator. This keeps it moist and fresh for about 4 to 5 days.
- Freezing: If you want to store the cake for a longer period, consider freezing. Wrap individual slices in plastic wrap, then place them in an airtight container. The cake can last up to 2 months in the freezer.
- Thawing: When ready to enjoy, remove the slices from the freezer and let them thaw in the refrigerator overnight to retain their texture and flavor.
Taking these simple steps will ensure that no delicious piece of your Grad Cake goes to waste.
Nutrition Information
While indulging in a delightful slice of Grad Cake, it’s helpful to be aware of its nutritional content. Here is a general breakdown:
- Calories: Approximately 300 calories per slice (assuming basic frosting and decoration).
- Fat: About 15 grams of fat, depending on the type of butter used and the frosting choice.
- Carbohydrates: Roughly 40 grams of carbohydrates per slice.
- Protein: Approximately 3 grams of protein, derived mainly from eggs.
This nutritional outline serves as a reminder to enjoy your cake in moderation, ensuring it serves as a treat for special occasions.
FAQs Grad Cake
1. Can I make this cake ahead of time?
Absolutely! You can bake the cake a day or two in advance and store it wrapped tightly in plastic wrap at room temperature.
2. What types of frosting work best for Grad Cake?
Buttercream and cream cheese frosting are both excellent choices, providing a creamy texture and delicious flavor that complements the cake well.
3. How do I achieve vibrant cake colors?
Using gel food coloring will give you the most vibrant hues. Start with a small amount and mix until you reach your desired color.
4. Can I make this cake gluten-free?
Yes, you can substitute all-purpose flour with a gluten-free flour blend. Just ensure your baking powder is gluten-free as well.
Conclusion
Creating a Grad Cake is an exciting way to celebrate academic achievements in a delicious and visually appealing manner. With creativity, care, and consideration for your chosen graduate’s preferences, you can craft a cake that leaves a lasting impression. So why not try this Grad Cake recipe for your next celebration? Share your experience and any unique twists you put on the recipe. Happy baking!

Grad Cake
Ingredients
Method
- Preheat your oven to 350°F (175°C). Grease and flour two 9-inch round cake pans.
- In a large mixing bowl, cream together the softened butter and sugar until light and fluffy.
- Add the eggs one at a time, mixing well after each addition. Stir in the vanilla extract.
- In another bowl, whisk together the flour, baking powder, and salt. Gradually add the dry ingredients to the creamed mixture alternately with the milk.
- If using food coloring, divide the batter into bowls and mix colors in.
- Pour the batter evenly into the prepared pans and smooth out the tops.
- Bake for 25-30 minutes or until a toothpick inserted into the center comes out clean.
- Allow the cakes to cool for about 10 minutes in the pans before transferring to a wire rack to cool completely.
- Once cooled, frost the cakes and decorate as desired.