
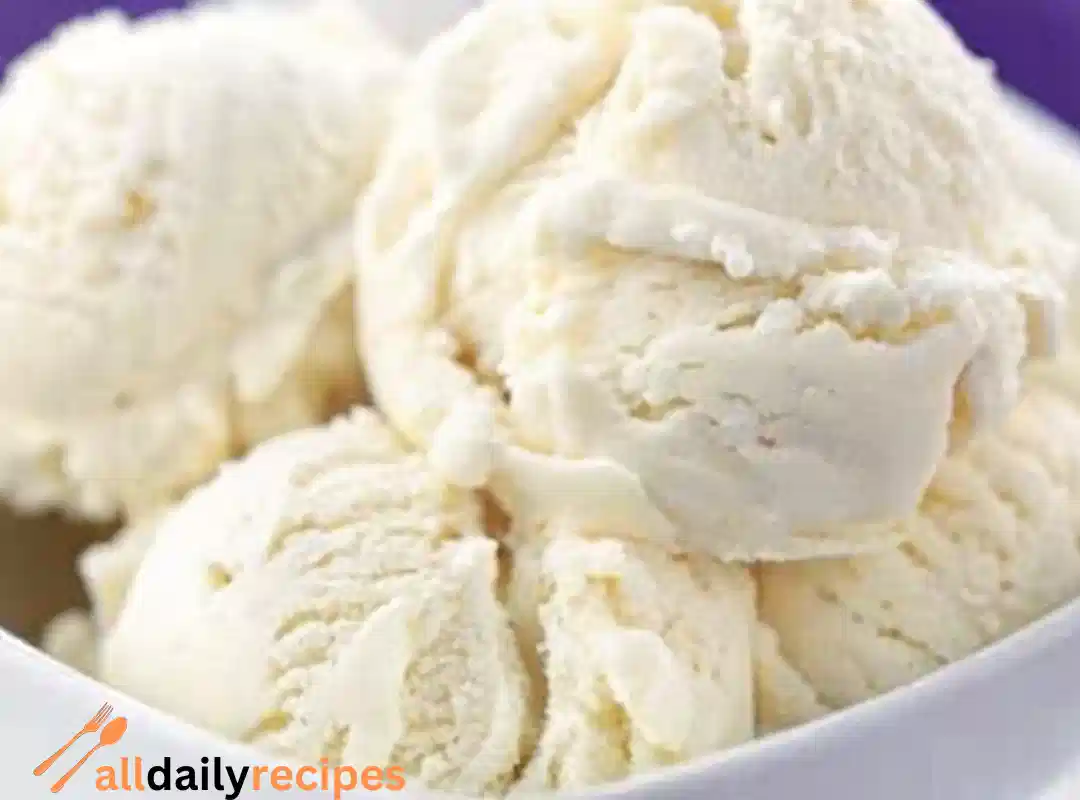
Homemade Vanilla Ice Cream. That’s it. Nothing fancy here. Just real, classic ice cream you can actually make without a headache. Five ingredients you can say out loud without squinting at a label. Cream, milk, sugar, vanilla, salt. That’s all. No eggs to worry about, no weird steps.
This is the ice cream that makes you think of summer as a kid. Melting too fast, dripping down the cone, everyone fighting for the last scoop. It’s creamy, real, and tastes like you actually did something.
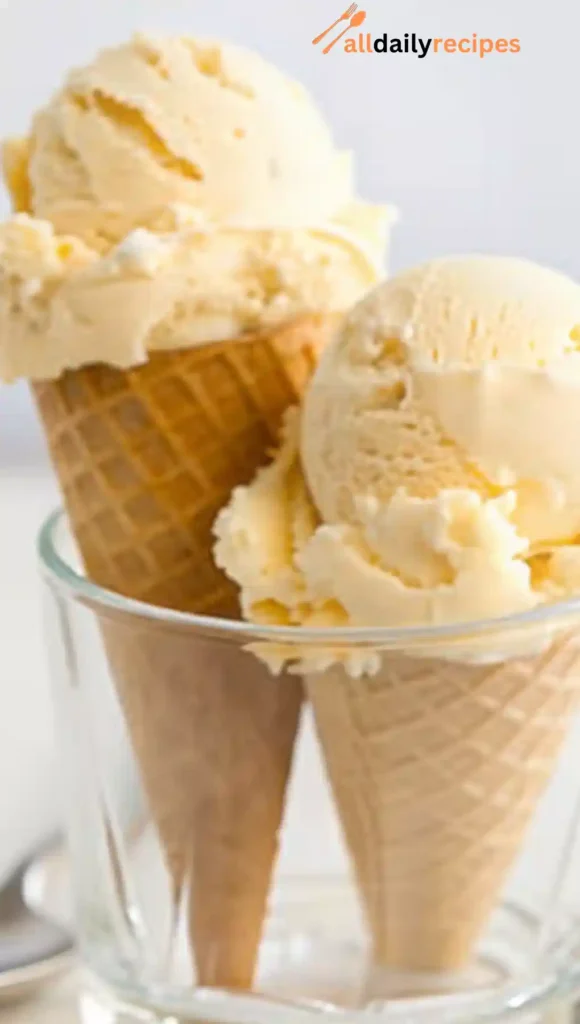
Scoop it into cones for the kids or eat it straight from the container with the lights off. I don’t care. It’s homemade. That’s the whole point. If you want easy, this is it. Let’s just make it. (How to make homemade ice cream)
Table of Contents
Why You’ll Love This Homemade Vanilla Ice Cream
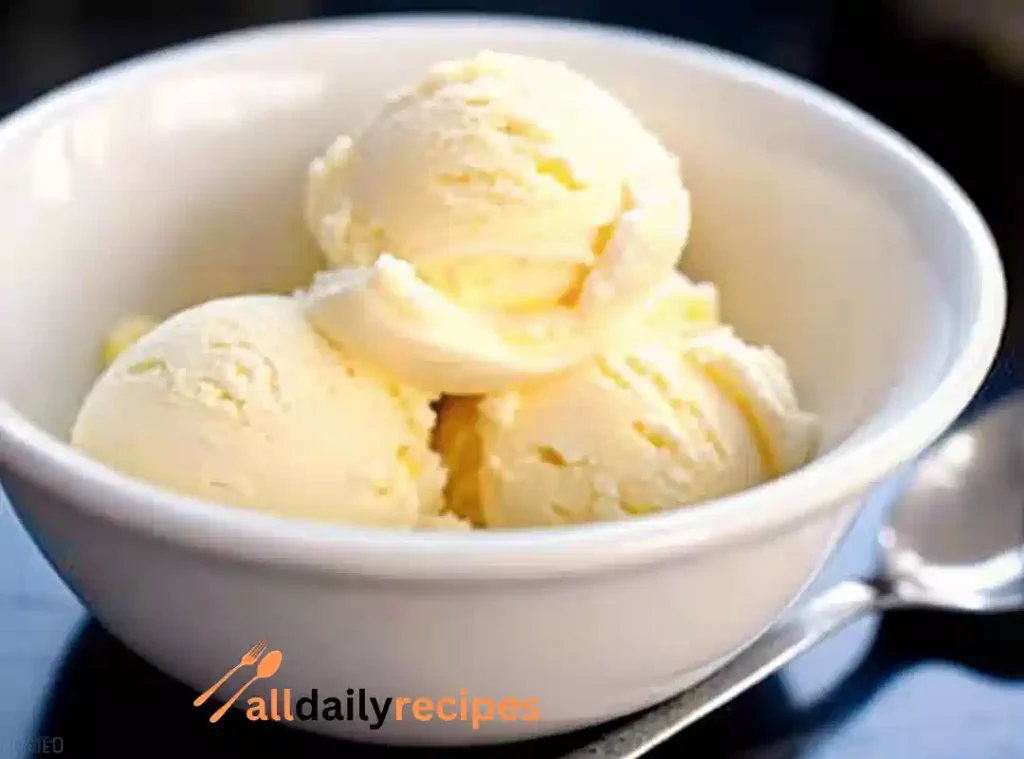
Because it’s real. That’s the short answer. It’s not some weird fake vanilla flavor. It’s not loaded with stuff you can’t pronounce. Just cream, milk, sugar, vanilla, and salt. It comes out tasting exactly like you hope ice cream will.
It’s creamy enough to feel special, but not so heavy you can’t eat a big bowl. Sweet, but not so sweet you regret it.
And it’s easy. No custard to ruin. No standing over the stove sweating about scrambled eggs. Just mix it, chill it, churn it. Done.
Honestly? It’s the recipe you make once and never need to look up again. That’s why it’s good.
Ingredients You Need
Nothing fancy here. Just five things you can actually find at the store without asking for help.
- Heavy Cream This is what makes it rich. Don’t swap it for half-and-half if you want real ice cream.
- Whole Milk Balances it out so it’s not too thick. Makes it scoopable.
- Sugar Enough to sweeten it, but not knock you out. Also helps the texture stay smooth.
- Vanilla Extract The star. Get a decent one if you can. Or use a scraped vanilla bean if you’re feeling showy.
- Salt Just a pinch. Don’t skip it. It keeps the flavors from tasting flat.
That’s all. No eggs, no stabilizers, no weird powders. Just the good stuff you want in actual ice cream.
You can keep it simple or throw in whatever you like. Crushed cookies, fruit, caramel, you name it. This is the base you build on.
Step-by-Step Instructions
This is stupid easy.
- Heat It (If You Want)
Throw cream, milk, sugar, vanilla, and salt in a pot. Warm it enough to dissolve the sugar. Don’t let it boil. Or honestly? Just whisk it cold if you can’t be bothered. - Chill It
Pour it into a bowl. Cover it. Fridge it for a couple of hours or overnight. Cold mix freezes better. - Churn It
Dump it in your ice cream maker. Turn it on. Let it do its thing. Usually takes about 20–30 minutes. - Eat or Freeze
Want it scoopable? Freeze it a few hours. Don’t care? Eat it straight from the machine like soft serve.
That’s literally all there is. No eggs. No tempering. No fancy techniques. Just ice cream.
Mix-Ins and Topping Ideas
This is where you make it yours. The base is good on its own, but don’t stop there if you don’t want to.
- Chocolate Chips or Chunks Classic. Stir them in at the end so they don’t sink.
- Cookie Crumbles Oreos, graham crackers, whatever’s in the cupboard.
- Caramel Swirl Warm it just enough to pour, then ripple it in with a spoon.
- Fruit Chopped strawberries, blueberries, peaches. Fresh or frozen.
- Brownie Bits Leftover brownies? Lucky you. Chop them up and fold them in.
- Candy M&Ms, peanut butter cups, crushed toffee. Go wild.
No real rules. Just don’t overload it or it turns into cement in the freezer. About a cup or so of mix-ins is usually plenty.
Pro Tip
If you want perfect ripples or chunks, add them right at the end of churning or even fold them in by hand after. That way you don’t break everything up.
No Ice Cream Maker? Here’s How
Don’t have a machine? Doesn’t matter. You can still make this.
- Mix It Up
Whisk your cream, milk, sugar, vanilla, and salt in a big bowl. Make sure the sugar dissolves. - Freeze in a Shallow Pan
Pour it into a metal loaf pan or any wide dish. Metal’s better because it freezes faster. - Stir While Freezing
Every 30 to 45 minutes, pull it out and scrape it with a fork or spoon. Break up any ice crystals. Repeat this for about 3–4 hours. - Eat It or Store It
Once it’s thick and scoopable, you’re done. You can eat it right away or store it in a container in the freezer.
It won’t be quite as smooth as machine-churned, but it’ll still taste amazing. And you don’t need to buy anything special to do it.
Real Talk
It’s old-school. It takes a little babysitting. But it’s worth it. Tastes like you actually made it because you did.
Storage and Serving Tips
You went to the trouble to make it. Don’t ruin it in the freezer.
Storing It Right
- Use an Airtight Container. Keeps it from picking up freezer smells. No one wants garlic-vanilla.
- Go Shallow. Freezes faster, thaws faster, easier to scoop.
- Plastic Wrap on Top. Press it right onto the ice cream before sealing. Helps stop ice crystals.
Serving Without Breaking Your Wrist
- Let It Sit. Take it out and leave it on the counter for 5–10 minutes before scooping.
- Warm the Scoop. Run it under hot water. Makes it cut through easier.
- Don’t Rush It. Bending your spoon isn’t worth it.
Shelf Life
Best in the first week or two. After that it can get icy. Still safe to eat, but the texture won’t be as nice.
Real Advice
Honestly? It probably won’t last long enough to worry about any of that.
FAQs About Homemade Vanilla Ice Cream
Can I use low-fat milk?
How do I stop it from getting icy?
Can I reduce the sugar?
How long does it last in the freezer?
What if I don’t have vanilla beans?
Conclusion
That’s it. Homemade Vanilla Ice Cream without the drama. You don’t need anything fancy. Just a few real ingredients and a little patience. It’s the kind of thing that feels special because you made it, even if you’re just eating it straight from the container on the couch.
It’s not about perfect swirls or impressing anyone. It’s about that first cold bite on a hot day, the grin when someone asks for seconds, or just knowing you made something real. So go on. Make it once. I bet you’ll make it again.
Homemade Vanilla Ice Cream
Ingredients
Method
- In a pot, combine heavy cream, whole milk, sugar, vanilla extract, and salt. Warm it enough to dissolve the sugar without boiling.
- Pour the mixture into a bowl, cover, and chill in the fridge for a couple of hours or overnight.
- Dump the chilled mixture into an ice cream maker and churn according to manufacturer instructions, typically around 20-30 minutes.
- If you want scoopable ice cream, transfer it to the freezer for a few hours. Otherwise, enjoy it straight from the machine.