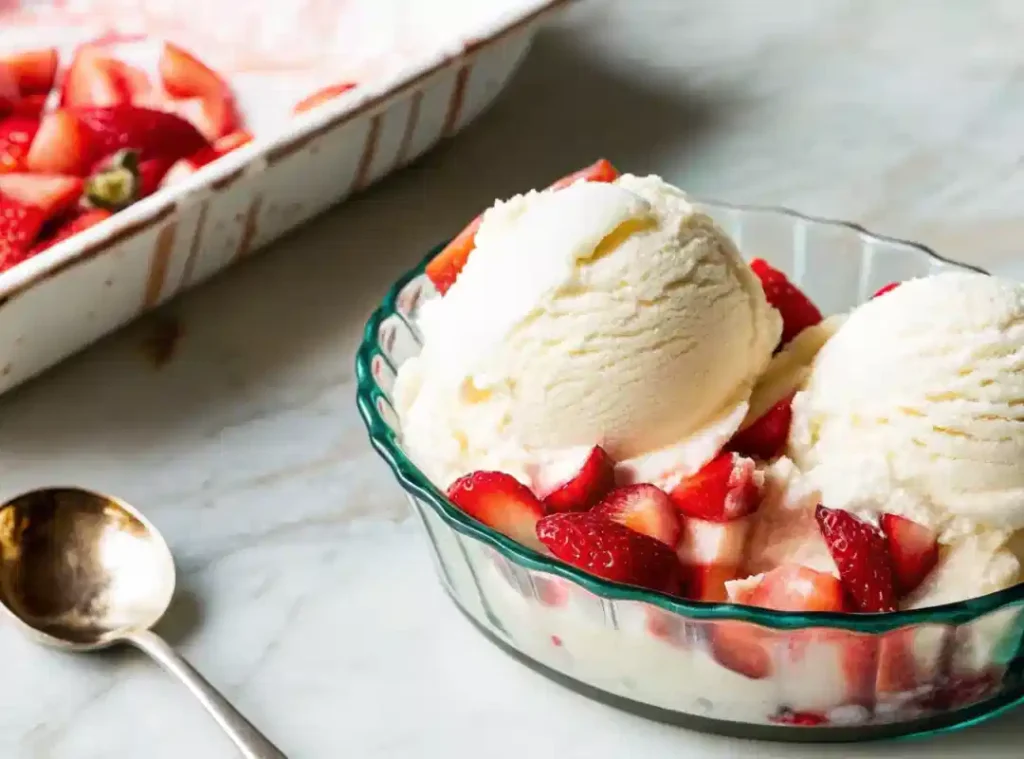
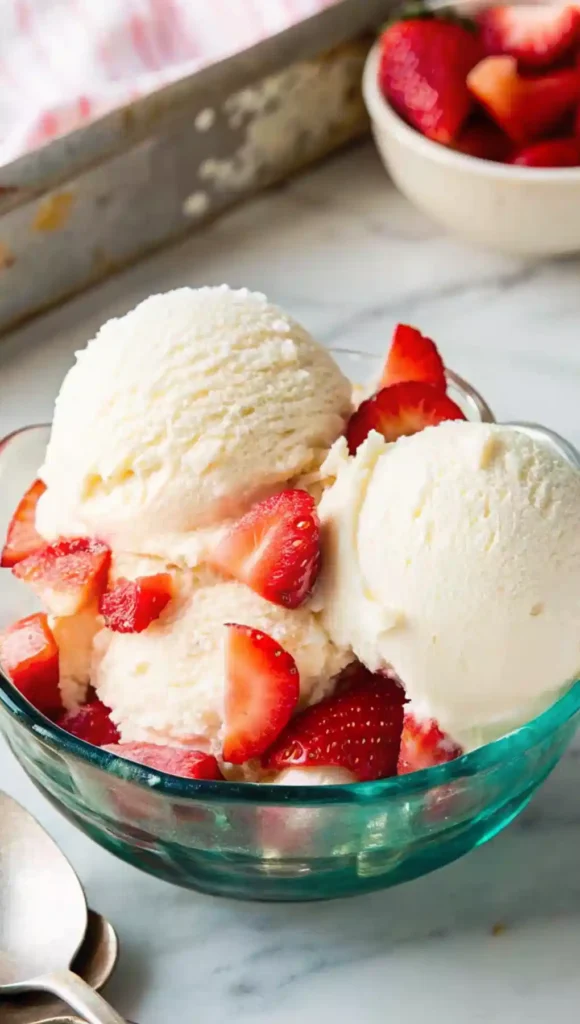
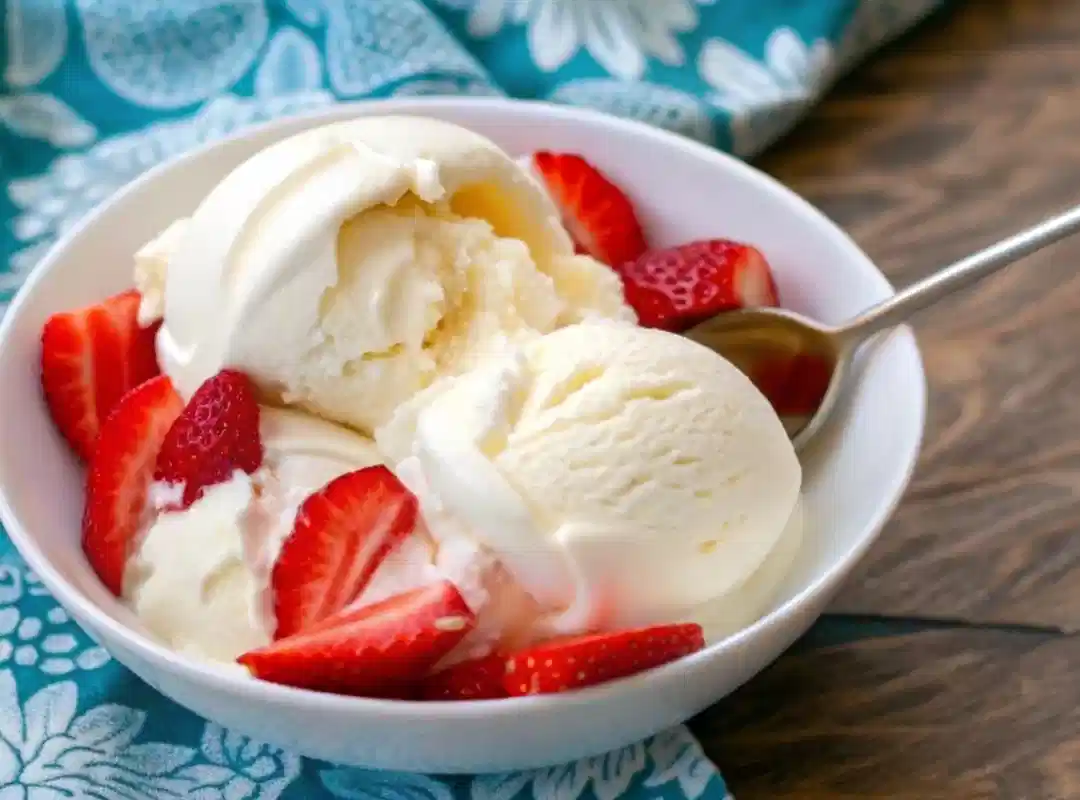
Homemade ice cream feels like this big, intimidating project until you do it once and wonder why you ever bought the expensive pints. Truth? You don’t need fancy custards or a culinary degree. Just a handful of basic ingredients and a plan that doesn’t make you roll your eyes halfway through. This recipe is what I turn to when it’s too hot to bake or I want to make something special without wrecking the kitchen. It’s straightforward. Creamy. Not too sweet. And it’s endlessly forgiving. Want to toss in cookie chunks? Do it. Swirl in caramel? No one’s stopping you.
You can make this for a summer barbecue, a kid’s sleepover, or just because Tuesday demanded it. It’s not about perfection it’s about the look on someone’s face when you hand them a scoop you made yourself. If you’ve ever thought homemade ice cream was too much hassle, trust me. This one changes minds.
Table of Contents
Why This Is the Best Homemade Ice Cream
If you’re going to the trouble of making ice cream yourself, it better be worth it. This recipe absolutely is. It nails that balance of being rich and creamy without feeling heavy. It’s sweet enough to make you close your eyes for a second but not so sugary you regret it after.
The real secret? Simplicity. Five ingredients. No eggs. No cooking custard over the stove, worrying if it’ll scramble. Just mix, chill, churn, and you’re done. It’s the kind of recipe you memorize because it’s that straightforward.
It’s also completely flexible. This is your base for every craving. Add crushed cookies, fresh fruit, chocolate chips, caramel swirls whatever makes you happy. It’s the blank canvas of desserts. Most importantly? It actually tastes like homemade. Real cream, real vanilla. None of that weird artificial aftertaste you get in the cheap tubs. It’s the kind of thing that has people asking if you’ll make it again next weekend. And you’ll want to say yes.
Ingredients
- 1¾ cups heavy cream
- 1¼ cups whole milk
- ¾ cup granulated sugar
- ⅛ teaspoon fine sea salt
- 1 tablespoon vanilla extract or 1 whole vanilla bean (split lengthwise)

Step-by-Step Instructions
- Freeze or serve: Enjoy it straight from the machine for soft-serve consistency, or transfer to a lidded container and freeze until firm.
- Warm the base: In a medium saucepan, combine 1 cup of heavy cream with the sugar and salt.
If using a vanilla bean, scrape in the seeds and toss in the pod as well. Warm gently over medium heat, stirring until the sugar dissolves. - Add remaining liquids: Remove from heat. Stir in the remaining cream, milk, and vanilla extract (if using extract instead of the bean). Whisk until fully combined.
- Chill the mixture: Transfer the mixture to the refrigerator and chill thoroughly.
- Churn the ice cream: Before churning, remove the vanilla pod if used. Whisk the base one more time, then pour into your ice cream maker and churn according to the manufacturer’s instructions.

related recipes:
- homemade vanilla ice cream
- Homemade Chocolate Ice Cream
- Grapico Ice Cream Recipe
- Grapico Homemade Ice Cream Recipe
- Grapico Ice Cream with Condensed Milk
- Homemade Ice Cream Cake Recipe
- Grapico Homemade Ice Cream No Eggs
- Homemade Ice Cream Sandwiches recipe
No Ice Cream Maker? No Problem
Look, not everyone has an ice cream maker collecting dust in the cabinet. Don’t let that stop you. You can still get amazing homemade ice cream with stuff you already own.
Here’s how I do it when the machine’s buried or broken:
- Mix Everything Together
Dump your cream, milk, sugar, vanilla, and salt into a big bowl. Whisk like you mean it. Make sure the sugar’s dissolved. That’s it. - Pour Into a Freezer-Friendly Pan
Use something shallow a metal loaf pan works great. The wider it is, the faster it freezes. - Stir as It Freezes
Every 30 to 45 minutes, open the freezer, give it a good scrape and stir with a fork or spoon. Break up any icy spots. Do this for about 3 or 4 hours. - Scoop and Enjoy
Once it’s thick and looks like ice cream (it will), scoop it into a container if you want to save it or just eat it straight from the pan. No judgment.
It’s not as perfectly smooth as a churned batch, but honestly? It’s still homemade ice cream. It’s still creamy. It still feels like you did something special.
Will it be exactly the same?
Nope. It’ll be a little icier, a little more rustic. But it’s homemade, it’s delicious, and it absolutely hits the spot on a hot day.
Storage and Serving Tips
So you made your ice cream. Congratulations. Now what? You want to keep it tasting great and scoopable not like a rock-hard brick you have to chisel.
Storing It Right
- Use an Airtight Container Keeps the ice cream from picking up weird freezer smells. Nobody wants garlic-scented vanilla.
- Shallow is Better Freezes faster, thaws faster, and is easier to scoop.
- Press Plastic Wrap on Top This little trick stops ice crystals from forming on the surface.
Serving Without a Struggle
- Let It Sit Take the container out of the freezer and let it rest on the counter for 5–10 minutes before scooping.
- Warm the Scoop Run it under hot water and dry it off. Cuts through frozen ice cream like a dream.
- Don’t Rush Seriously. You’ll just bend the spoon.
A Note on Shelf Life
Homemade ice cream doesn’t have all the stabilizers store-bought brands use. It’s best eaten within a week or two. After that it can get icy, though it’s still safe just not as dreamy.
Can I keep it longer than two weeks?
Sure. It won’t go bad right away. But the texture will get rougher and more icy. If you’re anything like me, though, you won’t have to worry about leftovers for that long.
FAQs About Homemade Ice Cream
Can I use low-fat milk or cream?
You can but just know what you’re giving up. Less fat means less creaminess. It’ll be icier. Still good, just not that rich, scoopable texture you get from heavy cream and whole milk.
How do I keep it from getting too icy?
Sugar and fat are your friends here. Don’t cut the sugar too much, or you’ll get hard ice. Chilling the base well before churning helps too. And don’t skimp on the cream.
Can I reduce the sugar?
A bit, sure. But don’t go wild. Sugar doesn’t just sweeten it keeps the texture smooth. Go too low and you’re making ice milk.
How long does homemade ice cream last in the freezer?
About one to two weeks for best texture. It’s safe longer, but ice crystals will start to form. Honestly? It usually doesn’t last that long anyway.
What if I don’t have vanilla beans?
No problem at all. Good vanilla extract works perfectly. It’s what I use most of the time. The beans just feel fancy if you’re in the mood.
Conclusion
Look it’s ice cream. Don’t make it harder than it is. You’re mixing five normal ingredients you probably already have, giving it a little time in the freezer, and ending up with something that tastes like you actually care.
Forget perfect. It’s going to drip. It’s going to melt too fast on hot days. Sometimes you’ll get a little ice on top if you forget to cover it tight. Who cares? It’s homemade. That’s the charm.
What you’re really doing here is taking 10 minutes to make something that feels like a treat. For your kids. For your friends. Hell, for yourself at midnight when everyone’s asleep and you’re eating straight from the container.
That’s the point. It’s not about impressing anyone. It’s about the small joy of saying, “I made this myself,” and then digging in. So go do it. Seriously. It’s just ice cream. But it’s your ice cream.

Homemade Ice Cream
Ingredients
Method
- Pour 1 cup of the cream into a saucepan. Add sugar, salt, and vanilla. Heat gently until the sugar dissolves, then remove from heat.
- Add the remaining cream and all the milk to the mixture. Whisk until well combined.
- Cover and refrigerate for at least 2 hours, or overnight for best results.
- Pour the chilled mixture into an ice cream maker and churn according to the manufacturer's instructions, usually for 20 to 30 minutes.
- For soft-serve style, serve immediately. For firmer ice cream, scrape it into a container and freeze for a few hours.

