
So your daughter’s turning 18. You want a cake that looks like you planned it. Not one that screams, “I was up at midnight googling easy cake hacks.” Still, you’ve got… what, a couple days? A turntable from Amazon? Maybe a piping tip you haven’t even unboxed yet?
Let’s keep it real you don’t need to be a pro. You don’t even need to bake everything from scratch. What you need is one solid idea that looks impressive, tastes amazing, and doesn’t leave you crying into a bowl of failed frosting.
This isn’t about baking perfection. It’s about effort that shows. You’re making a memory here, not auditioning for Bake Off. What follows is a set of cake ideas that are simple enough to pull off on a regular kitchen counter, but with just enough wow to make her smile. Maybe even take a picture before anyone cuts into it.
Table of Contents
Quick-Start Plan: What You Really Need for a Gorgeous DIY Cake
Let’s not overcomplicate this. You don’t need five types of nozzles or a professional baking station. You just need a handful of smart tools, the right ingredients, and a way to keep your cool when the buttercream starts acting up.
Must-Have Tools (No Fancy Stuff Required)
- Turntable Great for smooth frosting, but not essential. A lazy Susan or just spinning your plate works in a pinch.
- Offset Spatula or Butter Knife This helps get that soft, swirled look on top. Not mandatory, but very helpful.
- Cake Board or Serving Plate Something flat that you can build and move the cake on without it sliding around.
- Mixer Handheld is fine. Just make sure the butter is soft so it doesn’t fight you.
- Piping Bag (Optional) Only if you’re planning on decorating with swirls. You can also just spoon and swoosh.
Smart Ingredient Swaps That Save Time
- Premade Sponge Layers Supermarkets sell them. Nobody will know.
- Store-Bought Frosting Base Add a splash of vanilla or melted chocolate and beat it till it fluffs. Done.
- Edible Flowers or Cake Toppers Instantly make it look styled with zero effort.
One Key Tip to Avoid Cake Chaos
Bake or buy the cake layers the day before. Seriously. Let them cool, wrap them up, and stack the next day when you’re not rushing. Chilled cake layers are easier to frost, and your kitchen will feel calmer. You’re not aiming for bakery precision. You’re aiming for “wow, you made this?” And with the right setup, you absolutely can.
Cake Option 1: Layered Vanilla Showstopper With Buttercream Swirls
This is the classic “looks fancy, totally manageable” cake. Three soft vanilla layers, stacked with creamy frosting, and finished with a few swirls and sprinkles. It’s bright, celebratory, and doesn’t ask too much of you except maybe to breathe while piping.
What You’ll Need:
- 3 vanilla sponge cake layers (homemade or store-bought)
- 1 batch of buttercream frosting (or two tubs of store-bought if you’re tight on time)
- Food coloring (pastels work beautifully)
- Sprinkles, sugar pearls, or edible glitter
- Optional: premade topper or fresh flowers
How to Pull It Off:
- Color Your Frosting
Split the buttercream into three bowls and tint each one a different shade. Think soft pink, lilac, pale yellow whatever suits her style. - Stack Your Layers
Place the first cake layer on your board or plate. Spread a generous scoop of frosting. Repeat until all layers are stacked. If your cakes are uneven, flip the top one upside down for a flat finish. - Frost the Outside
Use your turntable or spin your plate slowly. Start on the top, then work the frosting down the sides. Don’t worry if it’s not perfect swirls look intentional when you own them. - Decorate With Swirls and Sparkle
Use a spoon or piping bag to add swirls around the top edge. Add sprinkles before the frosting sets. Top with a “18” topper or fresh flowers if you’ve got them.
This cake looks like effort and it is, a little but it’s also forgiving. Even if the layers aren’t perfectly straight, the color and texture will do the heavy lifting.
What if I’ve never piped frosting before?
Try a practice swirl on parchment paper first. No piping tips? Use a ziplock bag and snip the corner. Even messy swirls look great when you commit to them.

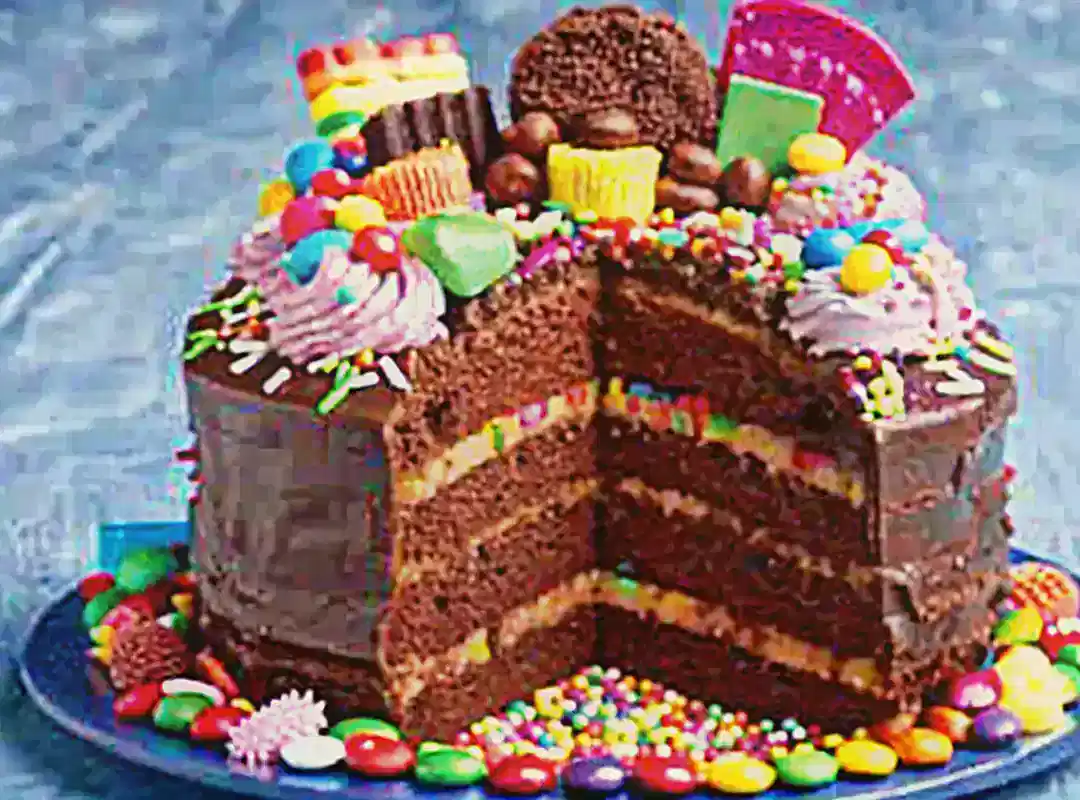
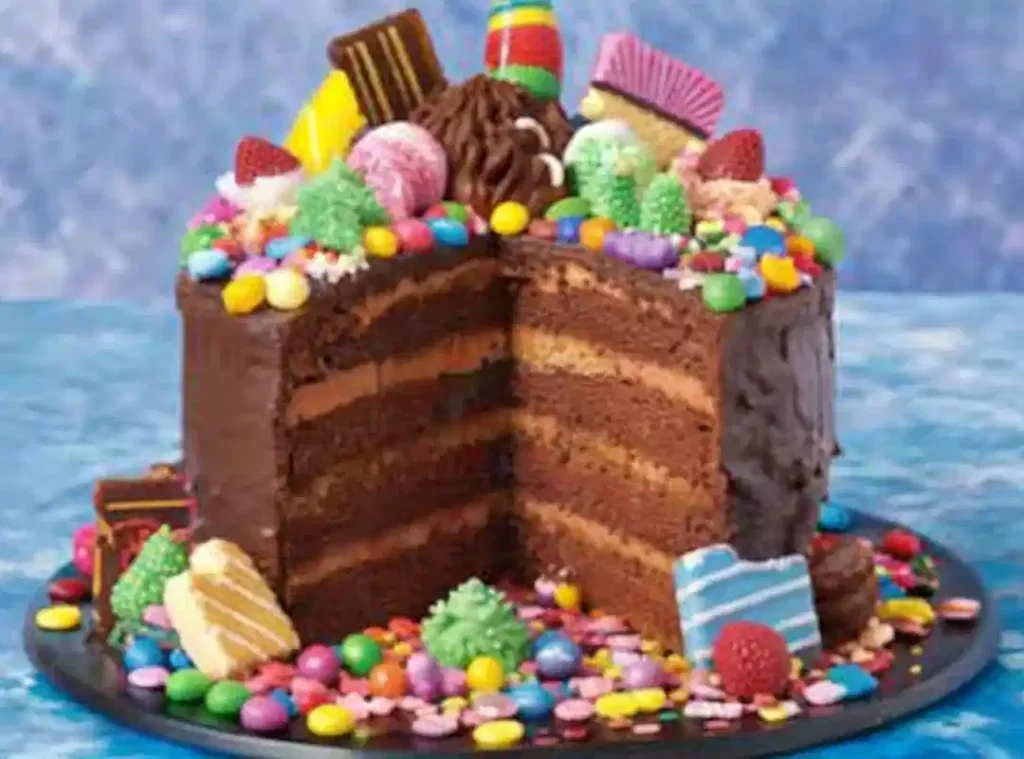
Cake Option 2: Elegant Chocolate Drip Cake (Minimal Skills, Max Impact)
This one always gets a reaction. You bring it to the table, and someone says “wait you made that?” The best part? You don’t need to know anything about tempering chocolate or sculpting flowers. A good drip and a bold topper do most of the heavy lifting.
What You’ll Need:
- 2 or 3 chocolate cake layers (your own or boxed mix is fine)
- Chocolate ganache or store-bought glaze
- Buttercream (chocolate or vanilla your call)
- A handful of Ferrero Rocher, chocolate curls, or shards
- Optional: edible gold dust, berries, or a simple “18” cake topper
How to Do It:
- Stack and Frost the Cake
Build the layers with buttercream in between, then coat the whole cake in a smooth layer. Don’t worry about perfection the drip will hide most sins. - Make or Heat Ganache
You can make a quick ganache with equal parts hot cream and chopped chocolate, or just microwave store-bought chocolate glaze. Let it cool slightly it should be pourable, not runny. - Drip It Slowly
Spoon or pipe the ganache around the edge of the cake. Let it fall naturally. Don’t rush that’s where drips go wonky. Pour a little on top and spread gently. - Decorate the Top Like You Mean It
Cluster chocolates, swirl some buttercream, maybe toss on a few raspberries or edible glitter. Go high, go bold, then stop before it turns into a dessert sculpture.
This cake leans modern and dramatic. It looks expensive, but it’s entirely beginner-friendly once you know the order of operations. The trick is to keep it chilled until showtime so the drip holds.
What if I mess up the drip?
If it runs too far, chill the cake a bit longer next time. Or use a thicker ganache. Still not happy? Add a buttercream border and pretend it was always part of the plan.
Cake Option 3: The Cheat Code Decorate a Store-Bought Base
Let’s be honest. Sometimes life doesn’t leave room for baking. That doesn’t mean you can’t deliver something gorgeous. With a little decorating know-how, even a plain supermarket cake can look like a custom order.
What You’ll Need:
- A plain iced cake from M&S, Tesco, Waitrose, or your local bakery
- Piping bag and star nozzle (or just a zip-top bag with the corner snipped)
- Fresh flowers, cake toppers, chocolate shards, or fruit
- Optional: edible glitter, ribbon, or mini bunting
How to Elevate It:
- Clear Off the Top
Some store cakes come with a basic design. Feel free to gently scrape it off with a knife if you want a blank canvas. - Add Piped Swirls or Rosettes
Even if you’re new to piping, a few rosettes around the top edge go a long way. Don’t aim for perfect just aim for “intentional.” - Top It Off With Something Bold
Stick on a gold glitter “18,” fresh blooms (make sure they’re food-safe), or a pile of chocolate curls. The key is clustering group decorations rather than scattering them. - Cover the Flaws
If the sides look messy, wrap a ribbon around the base or press in sprinkles, crushed biscuits, or grated chocolate. Problem solved.
This trick is perfect for people short on time, confidence, or energy. And let’s be real your daughter isn’t going to care that you didn’t bake it. She’ll see the effort, the thought, and the fact that you made it feel like her day.
Will people know it’s store-bought?
Maybe. But they won’t care. What they’ll notice is the custom decoration, the personal touch, and how excited you were to show it off.
Last-Minute Tips to Pull It All Together
Alright, deep breath. You’re almost there. The cake’s either baked or bought, and now it’s about holding it together long enough to get that final “ta-da” moment. Here’s what actually helps when you’re short on time, slightly stressed, and your kitchen looks like a flour bomb went off.
Break It Into Chunks
Don’t try to do everything in one sitting unless you’re secretly a professional. Do the cake one day, frosting the next. Decorating can wait until the morning of. It’s way less chaotic this way.
Cold Cake = Calm Baker
Pop the layers in the fridge before you frost them. Cold cake doesn’t crumble as much, and the frosting sticks better. Also, if your frosting feels too soft? Chill that too. Everything is easier when it’s slightly cold.
Every Cake Has a Good Side
Seriously. One side always looks better. That’s the front now. Hide the rest. Stack smart, spin it, and smile like you meant to do it that way.
When It Starts Going Sideways…
- Frosting too soft? Chill it for 15 minutes and try again.
- Cake won’t smooth out? Lean into the texture swirls are a vibe.
- Sides look rough? Cover them in sprinkles, grated chocolate, or crushed biscuits. Problem solved.
Keep It Cool (Literally)
If the party’s not right away, park the finished cake in the fridge. Just pull it out an hour before serving so the flavors warm up and the texture softens. No one likes cold cake, but melted buttercream is worse.
Bottom line? It’s not about perfect edges or symmetrical piping. It’s about showing you cared enough to make the effort. And let’s be honest once the candles are lit, no one’s looking that closely anyway.
What if I’m really out of time?
Just stack it, frost the top, and throw on some flowers or a cake topper. No piping, no panic. People remember how a cake made them feel not how many swirls it had.
FAQs About DIY 18th Birthday Cakes
Can I use cake mix instead of starting from scratch?
You definitely can. And you should, if it saves your sanity. Just pick a good brand, maybe toss in a splash of vanilla or a spoonful of sour cream to make it feel a little more “yours.”
My buttercream looks off now what?
If it’s sliding around like soup, toss it in the fridge for a bit. If it looks grainy, keep mixing. Add a touch of milk, slowly. Buttercream has mood swings sometimes it just needs patience.
How do I get the cake to the party in one piece?
Refrigerate it first so it firms up. Put it in a box, and if you’re driving, wedge it in with towels. No sudden turns. Drive like your grandma’s asleep in the back and you don’t want to wake her.
Can I freeze cake layers in advance?
Yes, and it’s a great backup plan. Wrap each layer in cling film, then foil. Freeze flat. Thaw in the fridge overnight, then let them warm up to room temp before you frost.
My cake layers look uneven should I panic?
Nope. Grab a long serrated knife, trim the wonky parts gently, and call it rustic if it still leans. Stack the flattest one on top. Frosting covers a lot.
Conclusion
At the end of the day, it’s not about whether your frosting came out perfectly smooth or if the swirls match on both sides. It’s about the fact that you showed up. That you stood in your kitchen, maybe a little nervous, and made something just for her.
Whether you baked every layer or grabbed a plain cake and gave it your own twist, you made it special. And she’ll see that in the flowers you added last-minute, in the “18” topper you picked out because it felt just right, in the way you lit the candles with a shaky hand and a full heart.
This cake? It’s not just dessert. It’s a moment. One she won’t forget and neither will you.
Layered Vanilla and Chocolate Drip Cake
Ingredients
Method
- Color your frosting by splitting the buttercream into three bowls and tinting each one a different shade.
- Stack the cake layers by placing one layer on your cake board, spreading frosting, and repeating with all layers.
- Frost the outside of the cake with a turntable or plate, starting from the top and working down the sides.
- Decorate with swirls and sprinkles before the frosting sets.
- Stack the chocolate cake layers with buttercream in between and coat the entire cake with a smooth layer of buttercream.
- Heat or make the ganache with equal parts hot cream and chopped chocolate, letting it cool until pourable.
- Drip the ganache around the edge of the cake and pour a little on top, spreading it gently.
- Top with clusters of Ferrero Rocher, buttercream, or fresh berries as desired.
- Clear off the top design of the store-bought cake if necessary.
- Add piped swirls or rosettes around the edge of the cake.
- Decorate with bold toppings, clustering them for effect.
- Cover any imperfections with ribbon or decorative elements.